Sometimes, motorists and novice mechanics wonder how to replace the crankshaft liners without removing the engine. There are several reasons for this interest. In many cases, it is simply not possible to remove the motor from the car. This unit is quite heavy, so here you will need a hoist or the help of several strong men. If there are no these conditions for removing the motor, then you will have to go out and do the work right on the machine. But, keep in mind that repair without removing the motor looks a bit like a perversion, that is, you will have to tinker thoroughly. Therefore, still try to catch assistants to remove the motor.
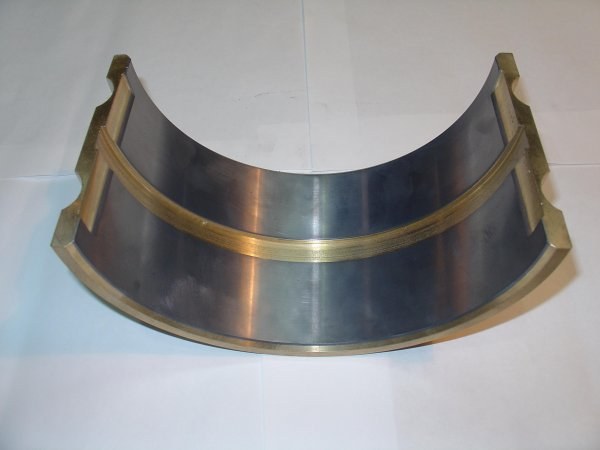
How to replace the crankshaft bearings without removing the engine? Before answering this question, let's figure out what liners are and why they should be changed. Everyone knows that bearings are used to ensure long-term operation of all rotating parts. They can be very different, in the engine, plain bearings are installed on the crankshaft - liners. They are a steel sheet of a certain shape, which is installed in the engine bed (main) or in the lower heads of the connecting rods. The bushings have fasteners in the form of a mustache, which allows you to avoid displacement of the bearing during operation. There is also a special groove or hole for lubrication. The inner surface of the liner has an anti-friction coating, which significantly reduces the wear level of the part. Please note that different engine models use different coatings, when selecting replacement liners, pay attention to this factor.
The liners are changed for several reasons, the initial one is wear, but the consequences can be different:
- Backlash liners. In this case, the crankshaft will knock. It is recommended that repairs be made as soon as possible. In this case, the replacement can be made even without removing and disassembling the engine;
- Rotating inserts. As a result of high wear, the bearing antenna pops out of it, and it turns around the crankshaft journal. Sometimes, this happens with insufficient lubrication. Here scoring can form on the neck, the only option is to remove the crankshaft and grind it.
Replacement
All official manuals recommend replacing the crankshaft liners with a complete engine disassembly, but in fact, this is not necessary. Everything can be done right on the car. And if with connecting rod bearings everything is more or less clear. Simply unscrew the head, pull out old part then install the new insert. Then questions arise with the rest, because at first glance you can’t get close to them without removing the crankshaft. But, here the experience of naval minders comes to the rescue. On large marine diesel engines, the length of the crankshaft can reach 10-15 meters, respectively, it is not removed to replace the bearings. There is a good technique that allows you to do this directly on the engine. The task of the auto mechanic is to adapt it to his goals.
Before starting work, you need to drive the car onto a flyover or viewing hole. This will make access to the motor from below absolutely free. The protection is also removed (if any), and the oil is drained. After that, you can start replacing:
- The box is taken off. It's better to do it in advance. In some cases, you can do without it, but it is better to prepare ahead of time, this will allow you to spend less time in the future;
- The front cover is removed. The belt (chain) of the camshaft drive is loosened. It is better to remove it completely;
- The starter is dismantled;
- Next, you need to remove the pallet. In principle, there should not be any special problems with this work. But, on some models, the front beam will interfere. In this case, you will need to unscrew the motor mounting pads, and slightly raise it. After that, you can freely pull out the pallet;
- That's how you get to crankshaft. Usually start replacement with connecting rod bearings. Everything is simple here. Unscrew the head mounting screws, pull out the old bearings, and then install new parts. Lubricate bushings prior to installation. engine oil;
- Before replacing the main bearings, the crankshaft should be lowered. To do this, loosen its fastening to the flywheel. It is enough to lower it by 10-15 mm;
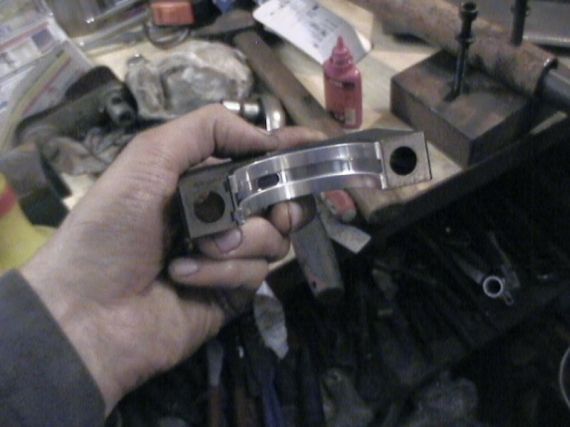
- Next, pull out the inserts. To accomplish this, the easiest way is to make a fixture, like an aluminum rivet. It is inserted into the lubrication hole, and the bearing is pushed out. Sometimes, drivers use steel rulers for this, but in this case, the working surface of the crankshaft can be damaged.
After removing the liner, be sure to inspect its condition. If simple wear is visible without scuffing, then you can safely install new spare parts. In the case of visible damage, it is advisable to remove the crankshaft and grind it.
Installing the liners in place for most engine models is done by hand. If this fails, then you can use the same tool that was used to extract the bearings. Lubricate the bearings before installation. Pay attention to the correct installation of the parts, the antennae must fall into the groove intended for it.
When assembling, it must be remembered that the screws must be tightened with a force specified by the manufacturer. Therefore, use a torque wrench to finish tightening the fasteners. This will avoid spontaneous unscrewing of parts.
Conclusion. Every motorist at least once, but faced with engine malfunctions. Moreover, wear can appear both after 100,000 kilometers and after 500,000. A lot depends on the specific model, as well as the features of operation. Many people are interested in how to replace the crankshaft liners without removing the engine. It is quite possible to do this, but it will still be easier to remove the motor, and the reliability of the repair directly on the machine will be lame.
You will need
- - a set of wrenches for engine disassembly;
- - caliper;
- - calibration plastic wire.
Instruction
First you need to dismantle the engine and install it in a position convenient for further disassembly. Next, you need to remove the sump, oil pump and unscrew the main, connecting rod caps that cover the liners, which in fact are plain bearings. In this process, the participation of a specialist is desirable, who, using a caliper, will determine which crankshaft journal has become the “culprit” incorrect operation engine.
The next step is to bore the crankshaft to the nearest size. It is necessary to purchase liners only after the grinding of the necks has already been done - the mechanic-minder will tell you the required size of the liners. Bearings are sold in a set designed for connecting rod or main journals.

The liners are installed on a new or polished crankshaft. For engines manufactured at VAZ, there are 4 repair sizes of liners in 0.25 mm increments: 0.25 mm, 0.5 mm, 0.75 mm, 1.0 mm. For engines manufactured at GAZ and AZLK (plus the Izhevsk plant), there is also a 5th, 6th crankshaft bore size: 1.25 mm and 1.5 mm; the size of the liner is indicated on its surface.
The bored crankshaft must be blown with compressed air to remove chips remaining after machining the part. When installing the liners, the latter must be lubricated with engine oil. Elements of the crank mechanism are mounted "lock to lock". If you do not have experience repairing an engine, then it is better to entrust the work to a specialist.
note
When boring the crankshaft, the sequence will not necessarily be observed: with a lot of wear on the crankshaft journals, it is possible to grind them through the size. Bearings are sold in a set designed for connecting rod or main journals. The crankshaft is one of the most expensive engine parts; therefore, timely boring and grinding of the necks significantly extends the life of the motor as a whole.
The determination of the need to replace the liners is carried out using a special calibrated plastic wire, which is installed on the main or connecting rod journal of the crankshaft. Next, a cover with an insert is placed and tightened with a force of approximately 51 N / m (you will need a torque wrench). The gap can be determined by the level of flattening of the wire.
Sources:
- Crankshaft balancing
Key parameter of any engine internal combustion is its working volume, measured in liters. The specified value has a direct impact on the power developed by the motor. And the more powerful engine, the more dynamic the car and the higher the comfort of driving it.
You will need
- - machine for boring cylinder blocks,
- - new piston group.
Instruction
Boring new engine does not make any sense, except for those cars that are preparing to participate in sports competitions. In all other cases, the cylinder block is bored during the overhaul of the power unit.
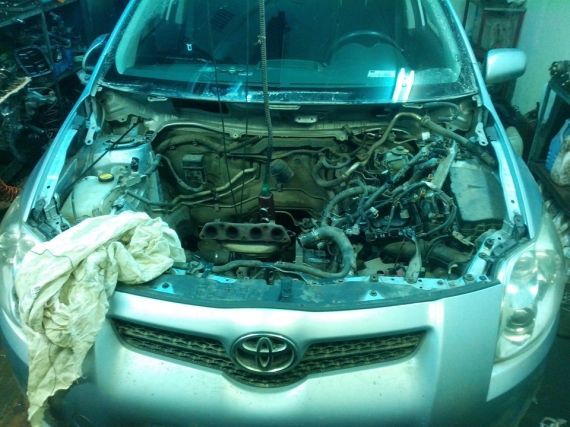
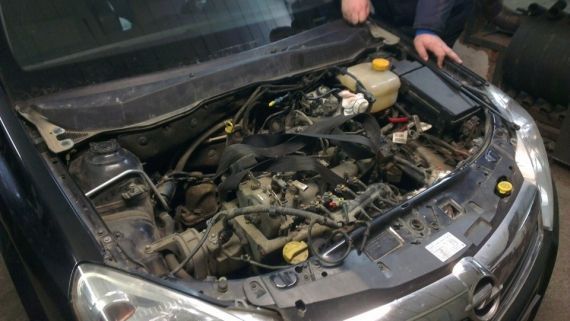
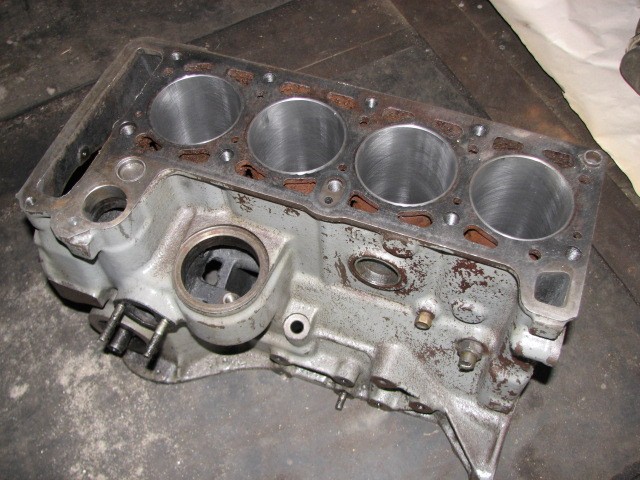
Due to the fact that the cylinder block is bored on special industrial equipment, in the course of preliminary preparation for this process, engine dismantled from the engine compartment of the car.
After this condition is met, the motor is completely disassembled, and then troubleshooting is performed for all the parts from which it was recently assembled.
The “bare” engine block is delivered by auxiliary transport to the workshop to a specialist in boring these parts. The master, after examining and performing the necessary measurements of the internal surfaces of the cylinders of your block, will issue recommendations on the purchase of a repair piston group of a certain size, which, after purchase, is delivered to him, to the workshop.
After boring the cylinder block, the motor is assembled, after which overhaul engine is considered complete, and as a result of the repair power unit endowed with an increased displacement and acquires increased power.
Related videos
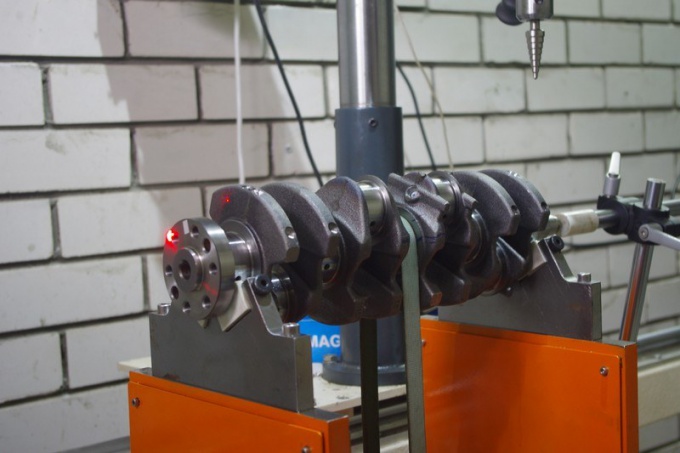
Crankshaft balancing is performed on a special dynamic stand, which allows you to determine with great accuracy the location and mass of imbalance compensators. Compensation is performed by removing or welding metal.
Proper balancing of an automobile crankshaft not only increases the duration of its life cycle, but also reduces power losses, reduces noise in the cabin and helps to reduce wear on body and transmission components. Both crankshafts in operation and new crankshafts with assembly and manufacturing defects are subjected to balancing.
Balancing conditions
To eliminate the imbalance of the crankshaft, it is necessary to check it on a dynamic stand. This equipment is included in the equipment of all major stations Maintenance and allows balancing crankshafts of various designs.
The crankshaft must be balanced together with the flywheel, as they work on the engine as part of a single rotor. The shaft is attached to the trunnions balancing machine, having collet or three-jaw chucks for securing a balanced assembly.
Balancing order
The crankshaft with the flywheel fixed in the machine is set in rotation, the frequency of which corresponds to the working speed. The imbalance is detected using a laser sensor that can move along the length of the crankshaft.
The balancing characteristic is recorded and processed using specialized software installed on a computer, which is part of the balancing stand equipment.
Based on the results of determining the imbalance, performed on a dynamic balancing stand, the installation locations of balancing weights or metal removal points are determined. The mass of compensators is also indicated.
In a garage workshop, the crankshaft and flywheel assembly can be statically balanced. To do this, you need to install the crankshaft on 2 prisms, after which, using the selection method, add a balancing weight until the rotor stops turning under its own weight. Plasticine can be used as a temporary load during testing.
Both static and dynamic balancing of the crankshaft require the subsequent elimination of the imbalance. These measures can be carried out in two ways - by welding additional metal or drilling holes in certain places. To remove metal, special balancing belts are provided in the crankshaft design, so the presence of holes does not weaken the part below an acceptable level.
Related videos
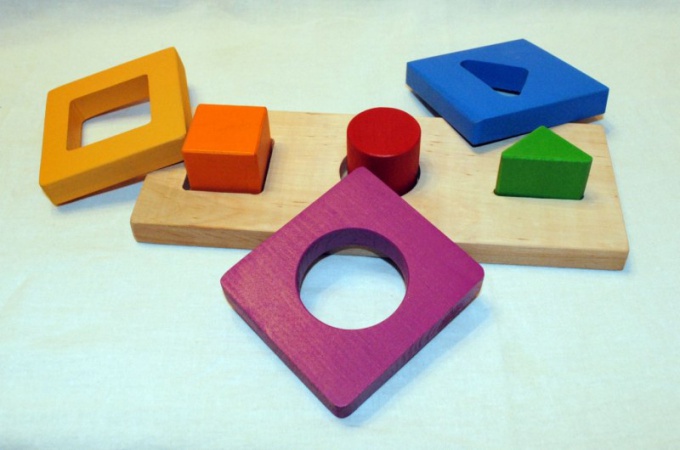
What to do with the baby? This question comes up fairly regularly. Even favorite toys get boring sometimes. With liners, a small child can fiddle for quite a long time, moreover, such an activity brings considerable benefits. The kid learns to compare objects in shape and size, while developing fine motor skills. You can also make inserts yourself.
You will need
- - PVC tiles of different colors or plywood;
- - a sharp knife;
- - awl;
- - jigsaw;
- - oil paints;
- - varnish;
- - sandpaper;
- - drawing accessories;
- - pictures depicting figures of animals, birds, fish, flowers.
Instruction
The insert is a plate with slots into which the figures are inserted. Start with the most basic geometric shapes. It is best to make such a game from the most ordinary PVC tiles, it is quite easy to cut with an ordinary sharp clerical knife. There are also special knives for linoleum, you can buy one at any hardware store. Choose tiles in two colors. In one you will make cuts. The other will serve as material for the figurines.
Use a compass to draw circles on the second tile. They should be different size. To make it easier to cut them out, make holes in several places with an awl or drill. Cut out the circles. Try to keep them even. Gently sand the edges so that there are no nicks. Of course, while playing with toys made of such material, the child does not risk planting a splinter. But any game should look beautiful.
Lay the circles on the tile intended for the field. Circle them. This is easiest done with a ballpoint pen. Make a slit for each circle, and then sand the cuts. In exactly the same way, inserts with squares and other geometric shapes can be made. Instead of tiles, you can use plywood, but then you will need a jigsaw. All details of the plywood game are best painted in bright colors or varnished.
Figures can be anything. For example, pick up pictures with silhouettes of animals. It is desirable that they be about the same size. They can be found on the Internet, scaled in any graphics editor, printed and transferred to tiles or plywood. Try to choose figures with a minimum amount of small details, it will be easier to cut them out.
Related videos
Helpful advice
The material for such games can be used very different. For example, penofol and other soft foams. Hard cardboard is also suitable, but the game will need to be coated first with water-based paint, then with gouache and varnish.
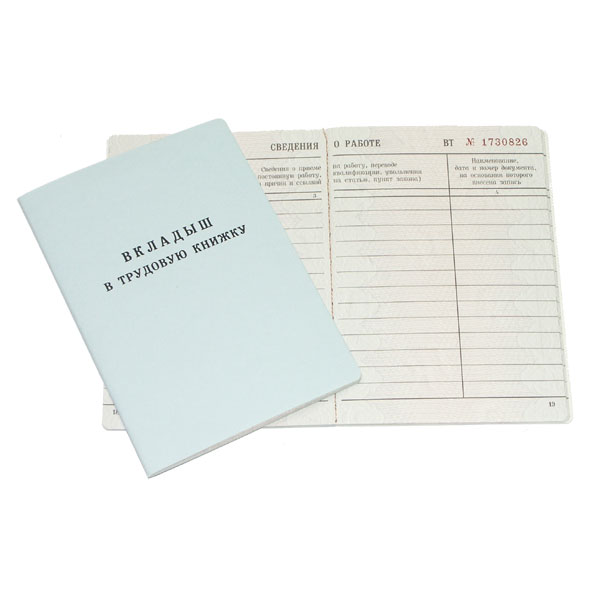
Insert is issued if all sections on work or awards are completely filled in the work book. The insert form is unified and approved by the Government of the Russian Federation under No. 225. The direct execution of this document is carried out in accordance with the rules for maintaining work books, paragraph No. 38.
You will need
- - liner
- - employee's passport
- -document of education or advanced training
Instruction
When issuing an insert on the title page of the work book, you should put a seal and indicate that the employee has been issued an insert, put down its series and number. Each new insert must be issued with a separate seal. Insert valid only with a work book, which is stamped and contains information about its issuance.
Before filling out the insert in the labor book, it is necessary to receive documents from the employee on the basis of which the insert will be filled out. You cannot fill it out according to the information indicated on the title page of the work book, since personal data could change. The employee must submit a passport, diploma or document on advanced training. Based on the submitted documents, the title page is filled in at the insert.
Insert should be sewn under the cover of the work book. One employee can be issued as many inserts as required for his labor activity. About all inserts that are issued, information should be put on the title page of the work book in the form of a seal and an indication of the number and series of the issued inserts.
Insert into labor book is not an independent document when applying for a job. It should be presented directly with the work book, on the title page of which information about the issuance of the insert is indicated.
Correction of incorrect entries made in the insert must be made in accordance with the rules that indicate the correction of incorrect entries in the work book. Under the incorrect entry, it is necessary to indicate that it is incorrect, put the seal of the organization and the signature of an authorized person. Make a correct entry under the next serial number.
note
Rules for registration and filling. How to fill out a work book? All entries in the workbook are made without abbreviations and have their own serial number within the corresponding section. 2 columns - the date of entry in Arabic numerals (it must correspond to the date of admission, transfer, dismissal and the date of preparation of the relevant document (order, order, etc.), and not the day when you fill out the work book).
Helpful advice
How to issue a work book. The form of the work book and the rules for its maintenance (hereinafter referred to as the rules) were approved by Decree of the Government of the Russian Federation of April 16, 2003 No. 225 “On work books”. And the instructions for filling out work books are contained in the Decree of the Ministry of Labor of Russia dated 10.10.2003 No. 69 (hereinafter referred to as the instruction). If all pages of one of the sections are filled in the work book, an insert is sewn into it. It must be drawn up and maintained in the same order as the work book.
To confirm that the child is a Russian citizen, the parents had to obtain insert about citizenship. Without this document, travel abroad was not allowed, and the children did not fit into the passport to their parents.

You will need
- - Copies of parents' passports;
- - a copy of the child's birth certificate;
- - extract from the house book.
Instruction
In accordance with the Decree of the President Russian Federation No. 1325 of November 14, 2002, each child under the age of 14 was supposed to be given insert citizenship in addition to the birth certificate. Identification insert child as a citizen of Russia, which allowed parents to freely take the baby abroad. The insert was issued upon a written request from the parents. Also, in order to obtain this document, it was necessary to submit the following documents to the regional migration service authorities: an extract from the house book, a birth certificate child and a copy of it, copies of parents' passports. The insert was issued literally within 2-3 days.

However, the need to have such insert on child Not all parents knew. And often there were situations when a trip abroad was disrupted due to the fact that child not issued insert about citizenship. Therefore, in February 2007, a corresponding Decree of the Government of the Russian Federation was adopted to cancel the issuance of insert her and replacing them with a citizenship stamp. This seal is put in the same place, in the migration service, on the back of the birth certificate.
According to the Order of the Federal Migration Service of the Russian Federation No. 68 dated March 19, 2008, parents child, who was born in the Russian Federation and is a citizen of Russia in fact, migration service employees are required to certify this fact at the first request. Employees of the FMS of Russia certify precisely by affixing such a stamp. Get a citizenship stamp child either at the place of residence of the parents, or at the place of birth child, or at the place of actual
I still had to order other main and connecting rod bearings. Studied the Kolbenschmidt catalog. Those liners that I bought earlier are put on other engines (and ABT is not on their list). Well, we learn from our mistakes - you can’t blindly trust a site that gives out a spare part as an analogue according to the entered original number. We break through the proposed spare part only according to the manufacturer's catalog!
Of course, nothing terrible happened, but, you see, 2000 is also not lying on the road)
Correct main bearings for ABT engine - Kolbenschmidt 87 581 600 (VAG 026 198 491)
They still need stubborn half rings Kolbenschmidt 78 635 600 (VAG 026 198 421)
Indigenous liners
The connecting rod bearings bought earlier, as it turned out, also do not fit - not only are they without a hole for the piston pin lubrication channel, they are also 1 mm wider than those suitable from the Kolbenschmidt catalog. Also, they have a wider castle, respectively, they simply won’t even get into the connecting rod.
Correct connecting rod bearings for ABT engine - Kolbenschmidt 87 200 600 (VAG 026 198 501)
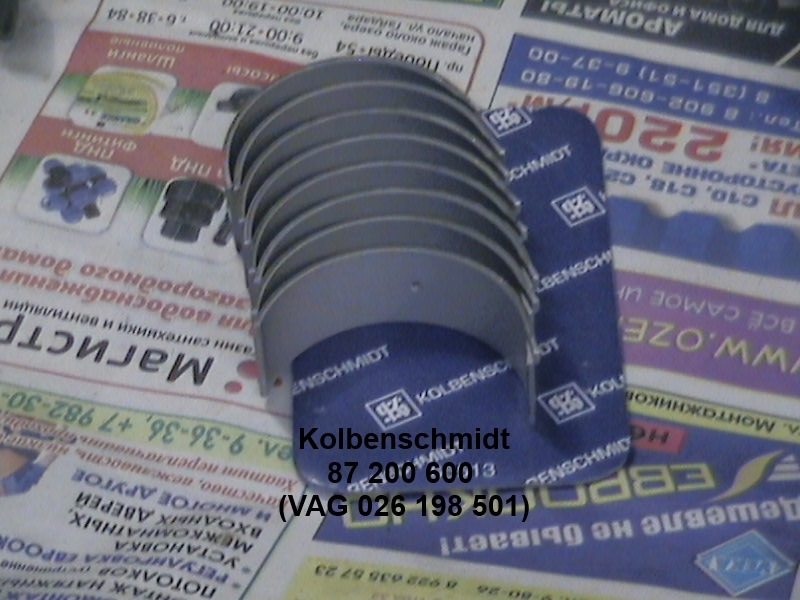
Connecting rod bearings for ABT engine
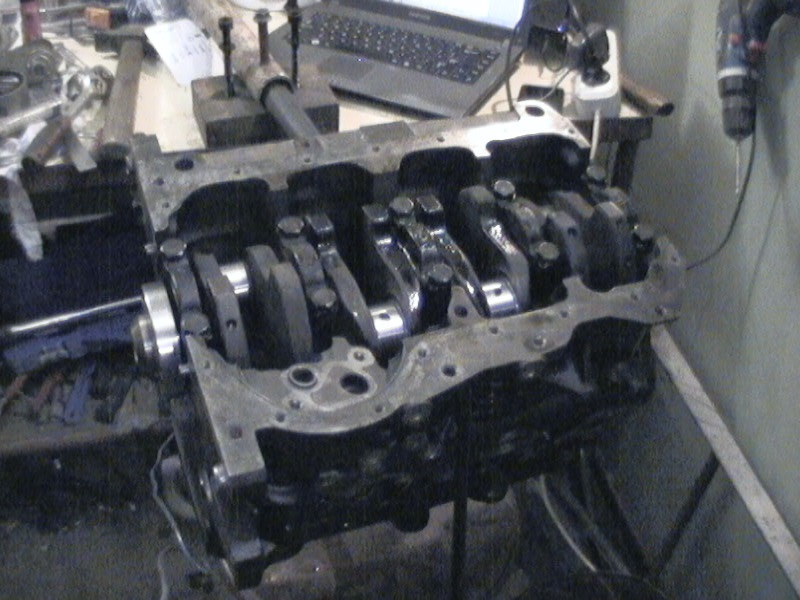
Once (even before painting) the block was washed with Karcher and Profoam 1000, but then it stood for a long time, respectively, dust and dirt could fly there. I agreed with a friend who works in a car service, took the block and crankshaft to him. Everything was carefully blown out with compressed air - all channels, every hole. But before assembly, I additionally washed the oil channels in the block and crankshaft with white spirit under pressure from a syringe. Washed and sleeves.
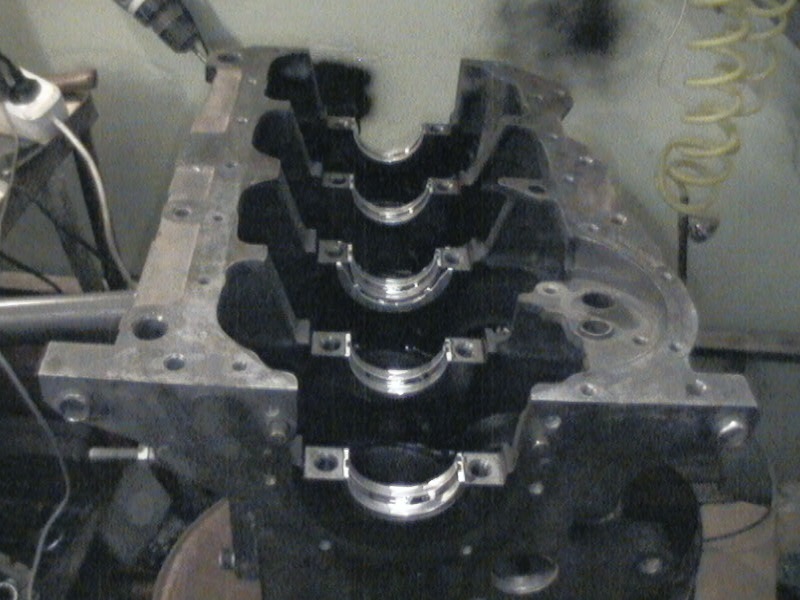
Cleaned and degreased the bed
Degreased the bed
Installed inserts. smeared synthetic gear oil.
Bushings installed and lubricated
This is how persistent half rings are placed on the 3rd bed (the account is always kept from the timing belt)
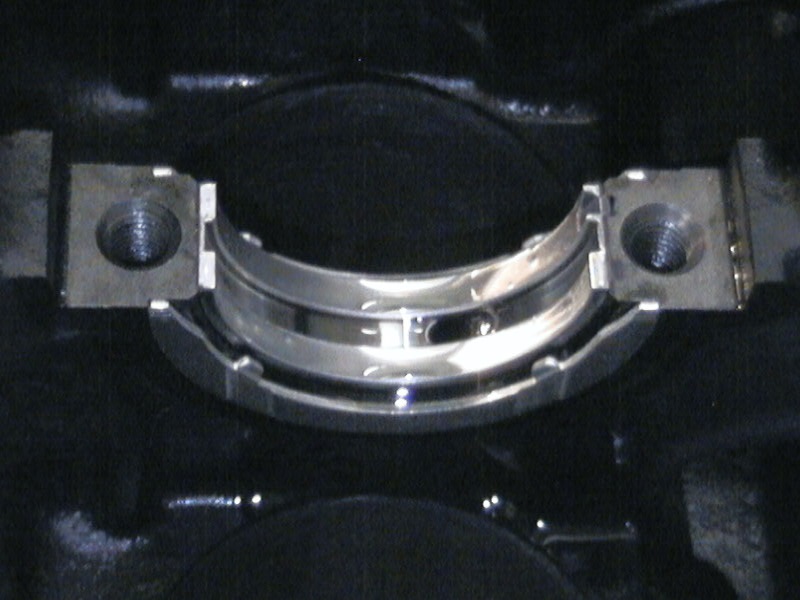
Thrust half rings
Installed the crankshaft. While twisting it is not worth it, because. thrust half rings will rotate with the crankshaft (they are fixed by the upper half rings)

Insert on the 4th yoke
Lubed the inserts. Installed all the yoke (they are numbered). They are put lock to the lock of the bed. I lubricated the ends of the bolts and the surface on which the bolt head (on the yoke) rotates with oil.
The yokes do not immediately sit down in their places. Travnikov knocked them out with a copper ingot, but I screwed in the bolts and, trying to prevent the yoke from warping, carefully tightened one or the other.
The bolts on each yoke are tightened evenly, with a torque of 65 Nm. After tightening each yoke, check that the crankshaft rotates.
Yoke tightened
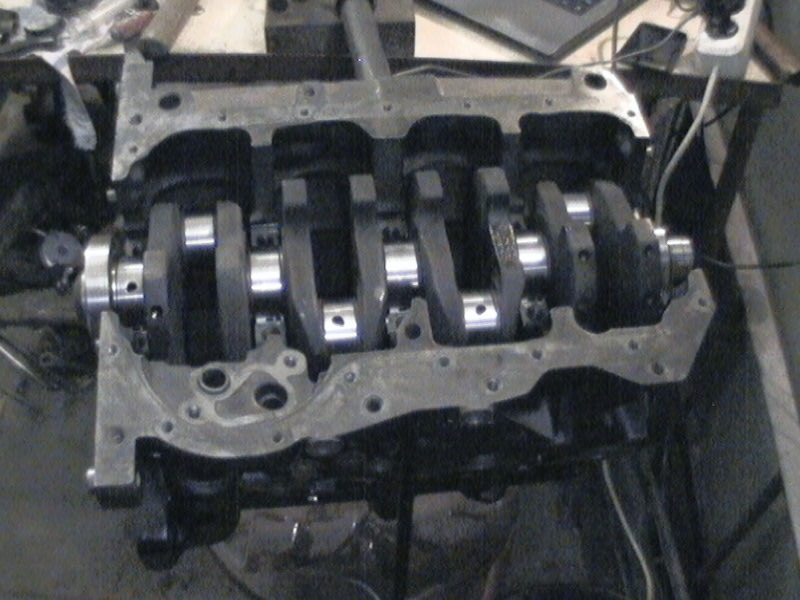
This is how the crankshaft rotates with tightened yokes
I bought new pistons (piston set Mahle 034 99 00), these are pistons for the ABK engine of the last years of production. The skirt is shortened, the piston pin is shorter. In addition, the ABK piston has a smaller recess on the bottom - a higher compression ratio. For gas, this is a plus.
Photo for comparison:
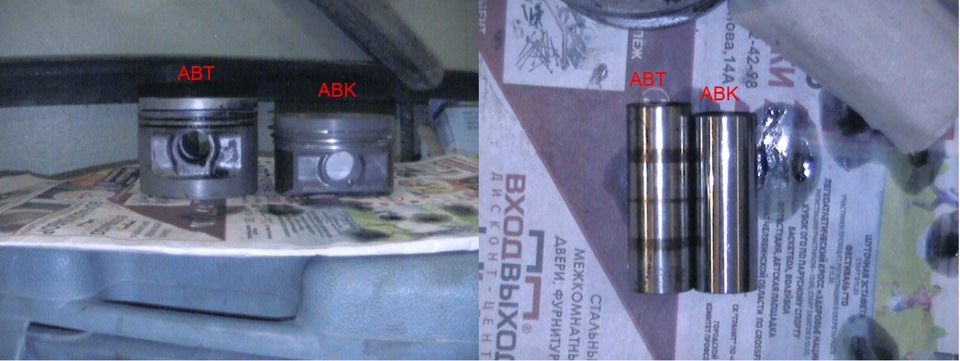
Pistons ABT and ABA
Piston installation.
First, I removed the old pistons from the connecting rods. Piston pin circlips are removed with a thin screwdriver. The finger is knocked out quite easily with a suitable mandrel, with a diameter slightly smaller than a finger (a bushing from some silent block from the 80s came up.
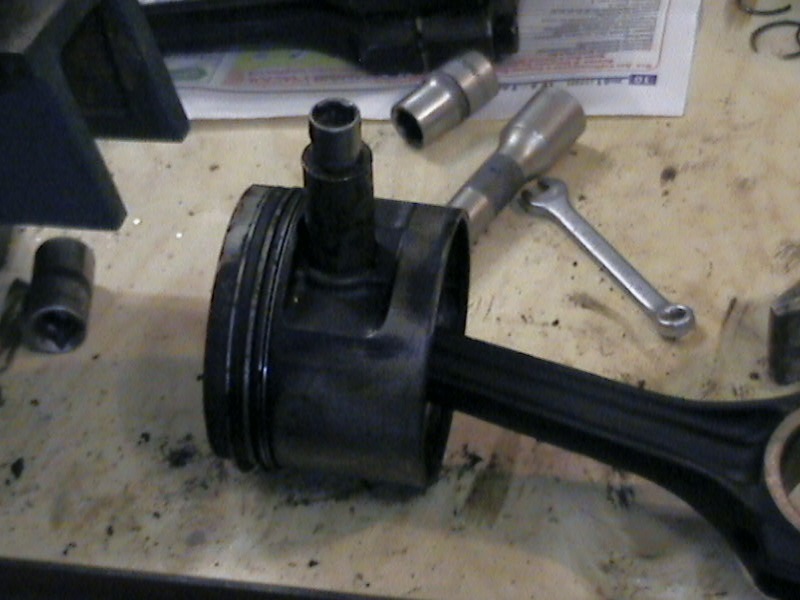
Washed the connecting rods, installed new pistons. The arrow on the bottom of the piston and the tides on the connecting rod must be on the same side. The lubricated piston pin is inserted into the piston and connecting rod by hand (this is precision workmanship!), The retaining rings are installed in place with a thin screwdriver.
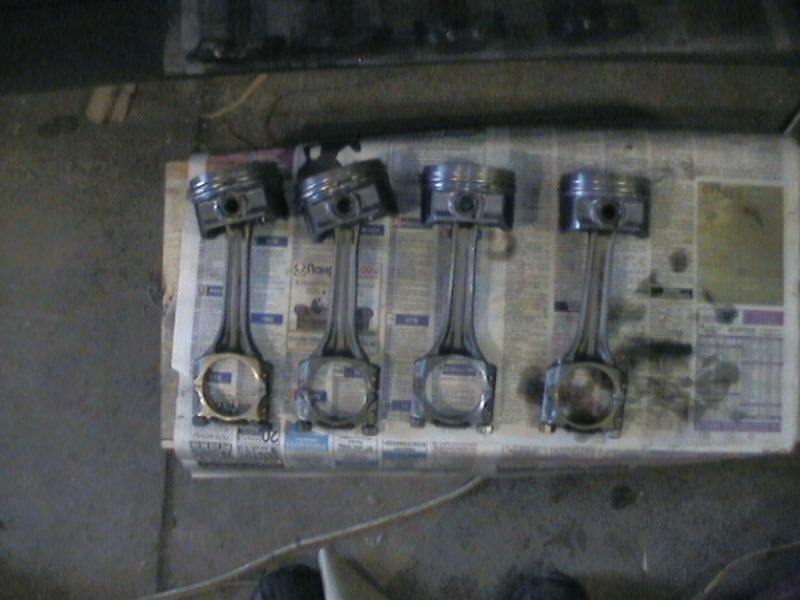
Connecting rods and pistons ready to install
Just like with root bearings, seats liners in the connecting rod are degreased, and the working surface of the liner itself is lubricated with oil. The locks of the rings are separated by 120º from each other, and the lock of the upper compression ring must lie in the plane of the crankshaft axis (according to the vag instructions)
Lubricate the sleeve with oil!
Using a tool, I inserted the pistons.